


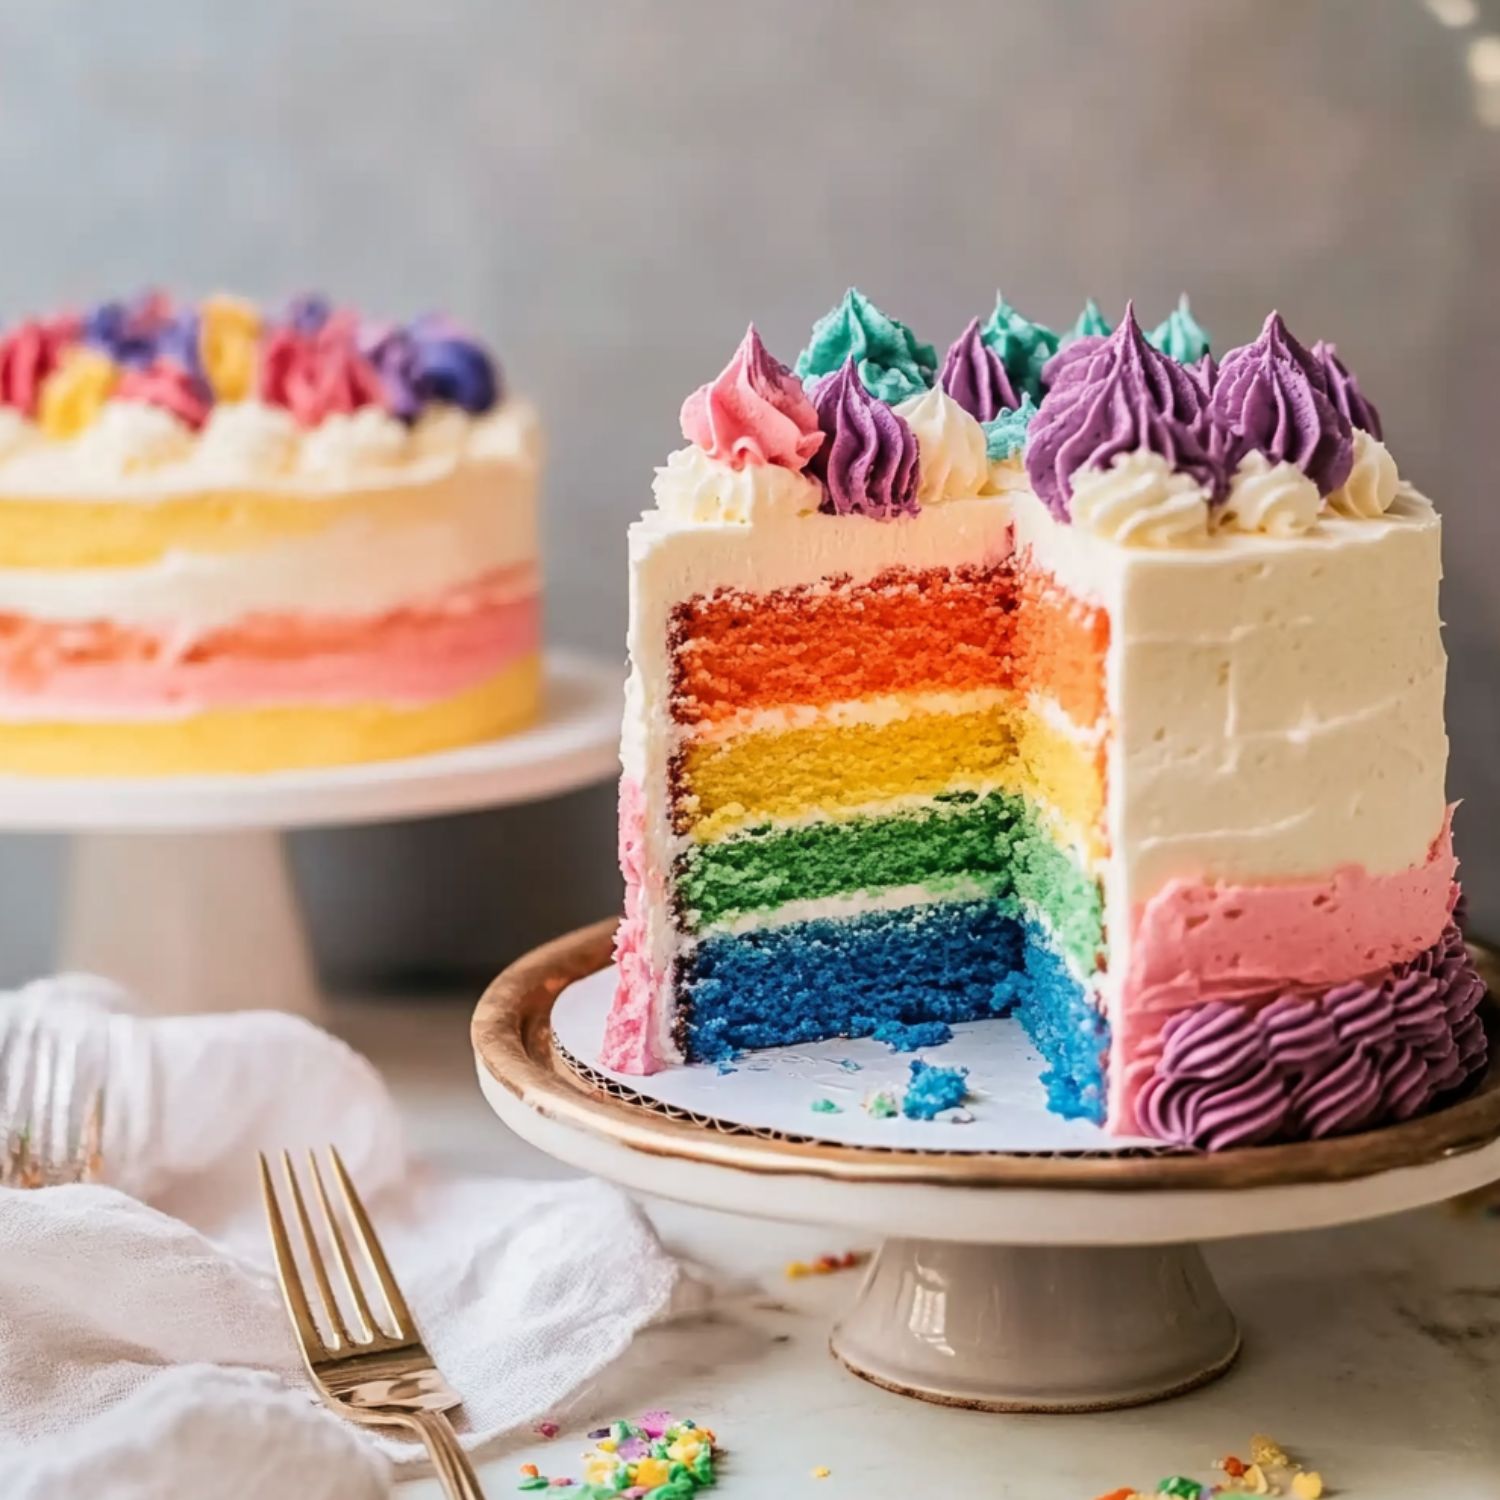
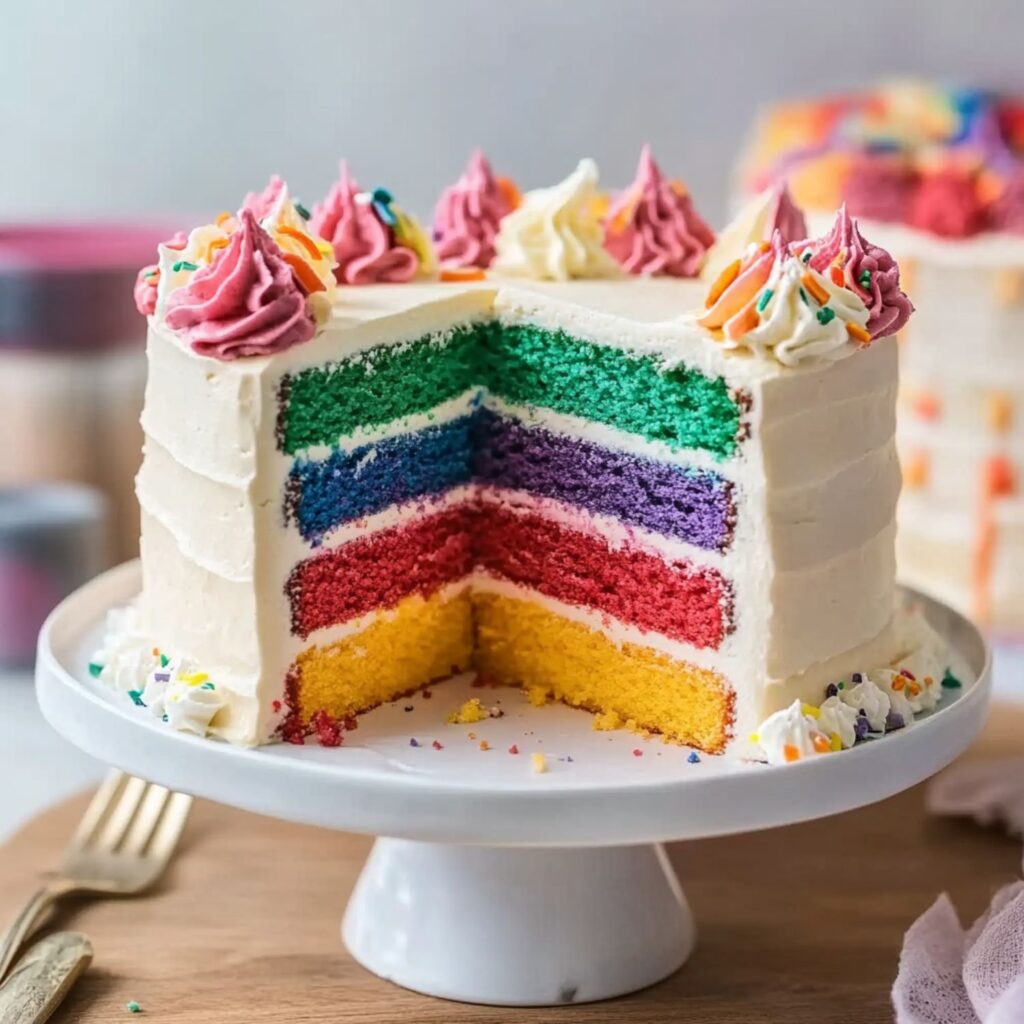
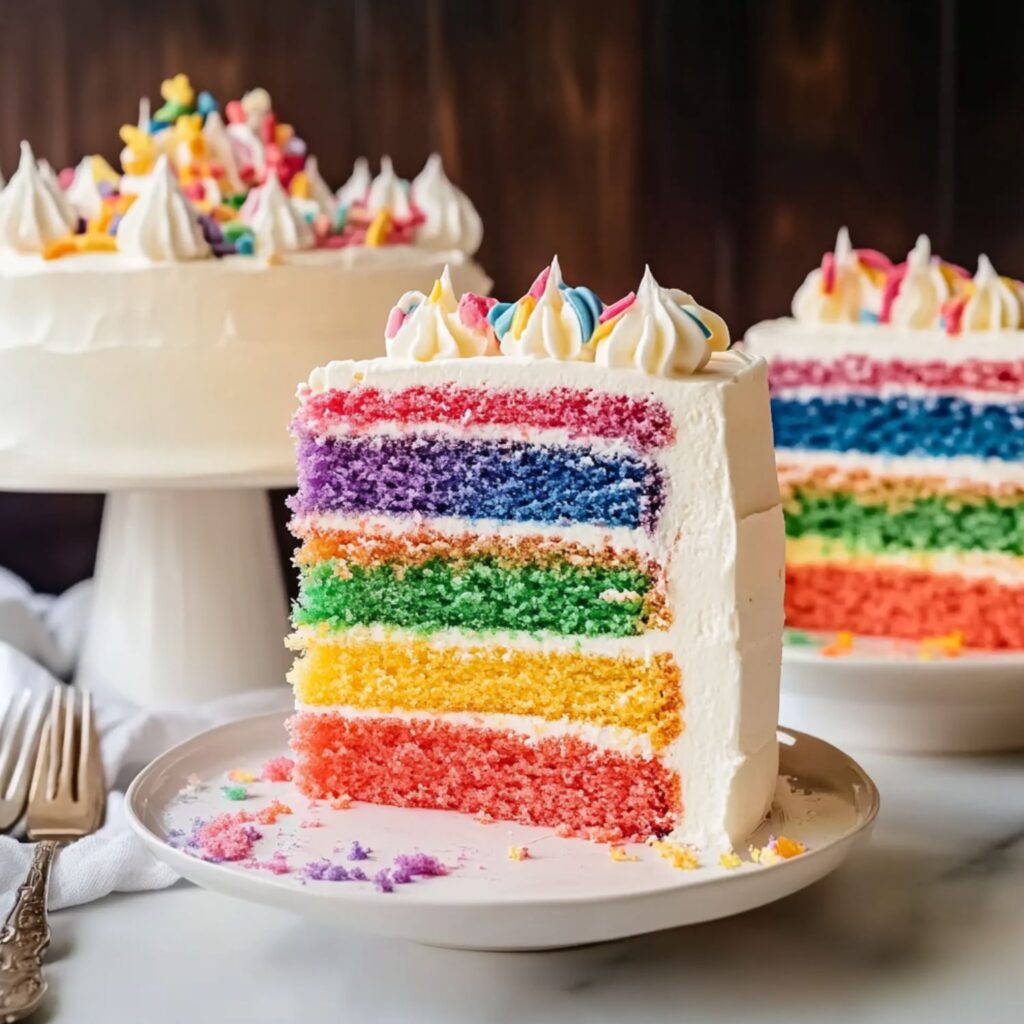
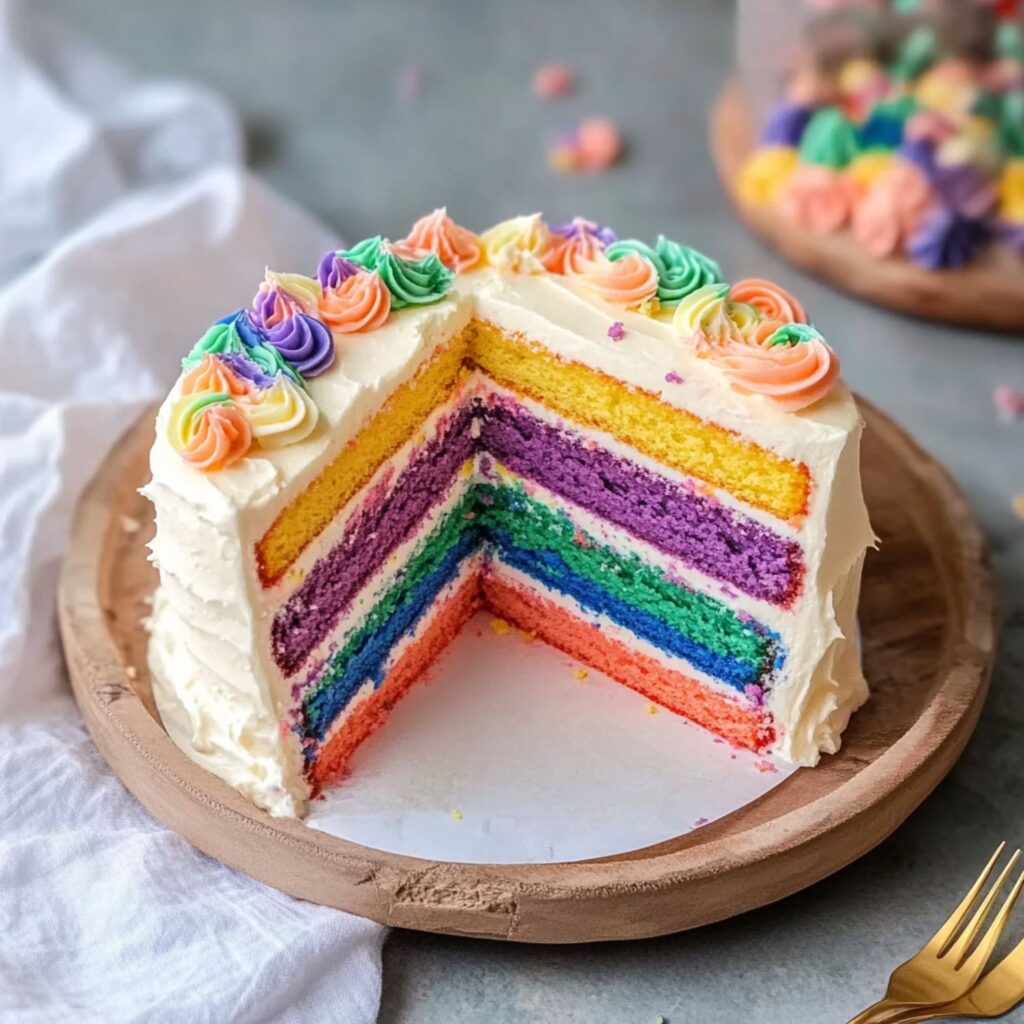
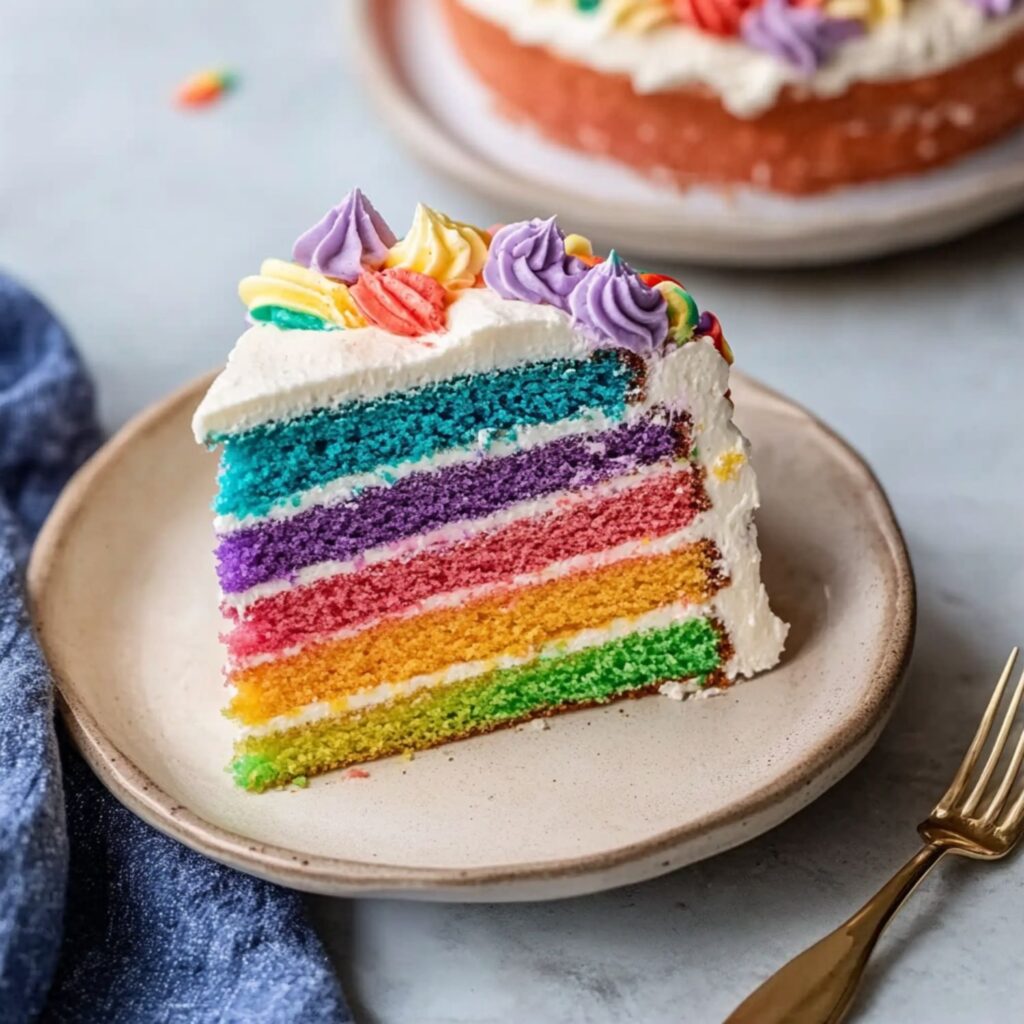
Imagine slicing into a cake and revealing a vibrant spectrum of colors, each layer more stunning than the last. This Rainbow Layer Cake is a feast for both the eyes and the taste buds, making it the perfect centerpiece for birthdays, celebrations, or just because you love a splash of color. With soft, moist vanilla sponge layers and a silky buttercream frosting, this cake is as delicious as it is dazzling.
The best part? It’s easier to make than it looks! You don’t need to be a professional baker to achieve those perfect, even layers. By following a few simple steps and using some basic kitchen tools, you can create a showstopping cake that will impress everyone.
Whether you’re celebrating a special occasion or just want to brighten someone’s day, this Rainbow Layer Cake is a guaranteed hit. Let’s dive into the recipe and bring some color into your kitchen!
Why You’ll Love This Recipe
- Visually Stunning – A colorful cake that looks as good as it tastes.
- Soft & Moist Texture – A tender vanilla sponge with a smooth buttercream frosting.
- Perfect for Any Celebration – Ideal for birthdays, parties, or fun baking projects.
- Customizable – Adjust the colors or flavors to suit your taste.
Ingredients Overview
To make this vibrant Rainbow Layer Cake, you’ll need a few basic baking ingredients like flour, sugar, eggs, and butter. The key to achieving those bright colors is using high-quality gel food coloring. Unlike liquid food coloring, gel-based colors provide intense hues without altering the cake’s texture. You can also switch up the frosting by using cream cheese instead of buttercream for a tangy twist.
Ingredients List:
For the Cake
- 3 cups all-purpose flour
- 1 tablespoon baking powder
- 1/2 teaspoon salt
- 1 cup unsalted butter, softened
- 2 cups granulated sugar
- 4 large eggs
- 1 tablespoon vanilla extract
- 1 1/2 cups whole milk
- Gel food coloring (red, orange, yellow, green, blue, purple)
For the Buttercream Frosting
- 2 cups unsalted butter, softened
- 6 cups powdered sugar
- 2 teaspoons vanilla extract
- 4 tablespoons heavy cream
- White gel food coloring (optional)
Preparation Time
- Prep Time: 30 minutes
- Cook Time: 20 minutes
- Assembly & Decorating: 40 minutes
- Total Time: 1 hour 30 minutes
Equipment
- 6 round 8-inch cake pans
- Mixing bowls
- Hand or stand mixer
- Offset spatula
- Wire cooling rack
- Cake turntable (optional)
How to Make the Recipe
Step 1: Prepare the Cake Batter
Preheat your oven to 350°F (175°C) and grease six 8-inch round cake pans. In a large bowl, whisk together flour, baking powder, and salt. In another bowl, beat butter and sugar until fluffy, then add eggs and vanilla extract. Alternately add dry ingredients and milk, mixing until smooth.
Step 2: Divide and Color the Batter
Evenly divide the batter into six bowls. Add a few drops of gel food coloring to each bowl, creating red, orange, yellow, green, blue, and purple batter. Stir well until the colors are evenly mixed.
Step 3: Bake the Layers
Pour each colored batter into its respective cake pan and smooth out the tops. Bake for 18-20 minutes or until a toothpick inserted in the center comes out clean. Let the cakes cool in the pans for 10 minutes, then transfer to a wire rack to cool completely.
Step 4: Make the Buttercream Frosting
In a mixing bowl, beat butter until creamy. Gradually add powdered sugar, vanilla extract, and heavy cream, beating until fluffy. If desired, add white gel food coloring for a bright, neutral base.
Step 5: Assemble the Cake
Place the purple cake layer on a cake stand and spread a thin layer of frosting over it. Repeat the process with the blue, green, yellow, orange, and red layers. Frost the entire cake with a crumb coat, chill for 15 minutes, then apply a final smooth layer of frosting.
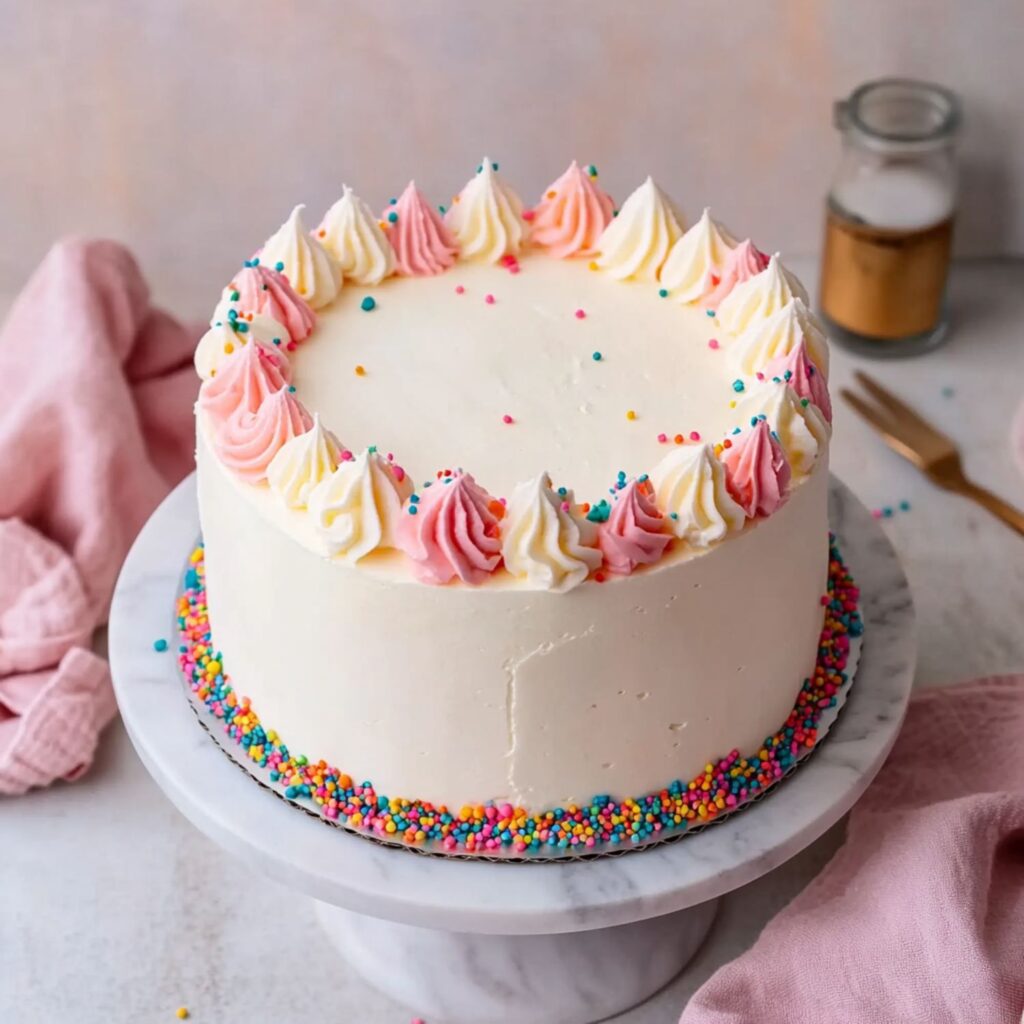
Step 6: Decorate and Serve
Decorate with sprinkles, rainbow candies, or a colorful drip effect using melted white chocolate tinted with food coloring. Slice and enjoy your beautiful homemade Rainbow Layer Cake!
Tips for the Best Recipe
- Use gel food coloring for vibrant colors without altering the batter’s consistency.
- Ensure your cake layers are completely cool before assembling to prevent melting frosting.
- Level each cake layer with a serrated knife for even stacking.
- Apply a crumb coat first to trap loose crumbs before the final frosting layer.
Variations to Try
- Chocolate Rainbow Cake – Swap vanilla sponge for chocolate and color the frosting instead.
- Pastel Rainbow Cake – Use softer shades for a more delicate, dreamy look.
- Rainbow Ombre Cake – Create a gradient effect by using different intensities of the same color.
Frequently Asked Questions
1. Can I make this cake ahead of time?
Yes! You can bake the cake layers a day in advance and store them wrapped in plastic at room temperature.
2. What’s the best way to store leftover cake?
Store in an airtight container in the refrigerator for up to 5 days.
3. Can I freeze the cake layers?
Absolutely! Wrap each layer in plastic wrap and freeze for up to 3 months.
4. Do I need special cake pans?
Standard 8-inch round cake pans work best. If you don’t have six pans, bake in batches.
5. How can I prevent my cake from drying out?
Don’t overbake! Check for doneness with a toothpick and remove when it comes out clean.
How to Store and Reheat
- Storage: Keep the cake in an airtight container at room temperature for up to 2 days or refrigerate for up to 5 days.
- Freezing: Freeze individual slices or whole cake layers wrapped tightly in plastic wrap for up to 3 months.
- Reheating: Bring slices to room temperature before serving for the best texture.
Conclusion
This Rainbow Layer Cake is the ultimate showstopper, perfect for making any celebration extra special. With its vibrant layers and luscious buttercream frosting, it’s a dessert that brings joy in every bite. Whether you’re making it for a birthday or just for fun, this cake is sure to impress.
Try this recipe and let me know how it turns out! Share your colorful creations and don’t forget to follow Mom’s Daily Life. on Pinterest for more delightful recipes and baking inspiration.

